
As always, as I poured my morning coffee I glanced down the valley toward the Sangre de Cristo Range to see what kind of a day I would encounter. The range was cloud capped and amazing looking in the alpenglow as the sun rose in the east. The cold front is taking forever to arrive but I could see the clouds on the mountains might be of interest on this day, along with my two other goals which were a sensor cleaning and a bit of time in front of the desktop trying to figure out the new ACR and Lightroom masking tools.
After yesterday’s photo session over the Sangre it became apparent that my sensor was very dirty. Dozens of dust spots became painfully obvious as I dragged the dehaze slider to the right in my attempt to create some detail in the early morning layer of haze. The auto dust shaking feature of my 90D failed to dislodge the dust so I went for my cleaning kit. I have learned to start with the least invasive treatment first so I got out the jet blower and set the camera to manual clean which locks up the mirror to provide access to the sensor. I turned the camera upside down and squeezed the tool a few times hoping the puffs of air would be sufficient to unseat the offending dust particles. Fortunately this time the blower was enough, I would not need the cleaning solution and pads… something that always makes me nervous!

I was tired today so there would be no hiking on Hell Hill, but I did stop at the overlook to snap a few shots of the clouds building on the magnificent mountain range. As long as I was this close to Victor it also seemed like a fine day for a visit at the Gold Camp Bakery for some biscuits and gravy 🙂 By the time I was making my return trip clouds had completely enveloped the peaks so I just headed for home to get on the computer.
I have been struggling with the new masking tools for a while, even after watching several videos on their usage. I usually don’t make much mention in my blog posts of Photoshop techniques, there are plenty of people with far more expertise than I have in making detailed videos on how to use all the features of this astounding software package. However this is one of those times when a simple sentence can be more valuable than a hundred twenty minute videos.
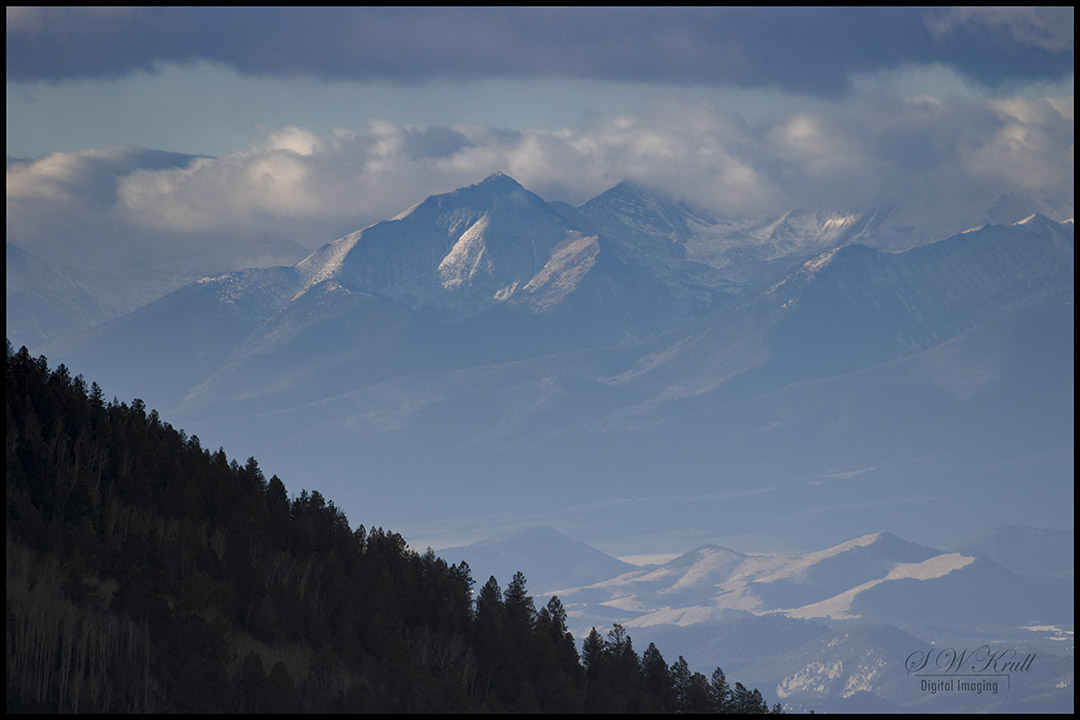
The issue I was having was with making more than one mask on an image. No matter what I tried, including the new intersect feature, adding a second mask appeared to override the original mask. Finally yesterday the light bulb turned on and I understood what was going on, I was thinking in two dimensions instead of three. So here’s how it works… think of each new mask as a new layer. On the above images the sky and mountains were too light and the foreground was too dark. So step one, click the new masking icon in Camera Raw which shows up as a wheel just under the spot removal tool. This opens the new tool palette that includes all the old tools plus the amazing new sky and subject selection tools.
I wanted to use the linear gradient tool to gradually darken down the sky and mountains so I clicked the linear gradient button and pulled the tool down from the top until I was satisfied with the mask coverage. From there you can make any number of adjustments to the masked area and I decided upon a little highlight reduction, an increase in blacks and a slight increase in the color temperature.
Then I wanted to work on the dark forest in the lower left of the image so I clicked “new mask” and then luminance range. I then just clicked on the dark area and luckily the forest was successfully masked. I was then able to adjust the exposure up a bit and increase that color temperature separately from the sky adjustment in the other mask. The adjustments I had made to the sky and mountains in the lower layer remained just as I had previously set them. If you need to make minor adjustments to the masks you can just click the mask and do an add or subtract at which time you can select brush or any number of other options to brush in more masking or brush out a spot that may have overshot your intentions in places.
Now all you have to do is hit the open button and the completely adjusted image becomes available in full Photoshop. I used the new masking tools in Camera Raw, but the interface in Lightroom is almost identical. Weeks of struggle are at an end with that simple understanding of multiple layers of masking. One of these days now I will dig into the intersect concept and report on that in another blog. Anyway, I hope you find this helpful and I’ll get back to you when this cold front finally arrives and the snow begins to fly!
As always, the best of these images and hundreds more are available for purchase on my website as wall art on glossy metal or acrylic sheets, stretched canvas and traditional matting and framing. Tons of cool household and gift items are also available with any image you like including coffee mugs, t-shirts, blankets and pillows, battery chargers, phone cases, stationary and much much more! Just click on any image you like and all the choices, sizes and prices will appear! For my viewers interested in images for commercial use, please visit my image licensing portal! Also, if you would like to see a more complete record of today’s images please follow my Instagram account!
Many of my adventures have also been captured on beautiful HD video on my Youtube Channel! If you enjoy my content please subscribe to my channel, subscribers have a big impact on channel rankings!
This post is not sponsored and all equipment used in it’s creation was purchased by me on my own volition.
Discover more from Colorado Photographer / Author | Steven W. Krull
Subscribe to get the latest posts sent to your email.
