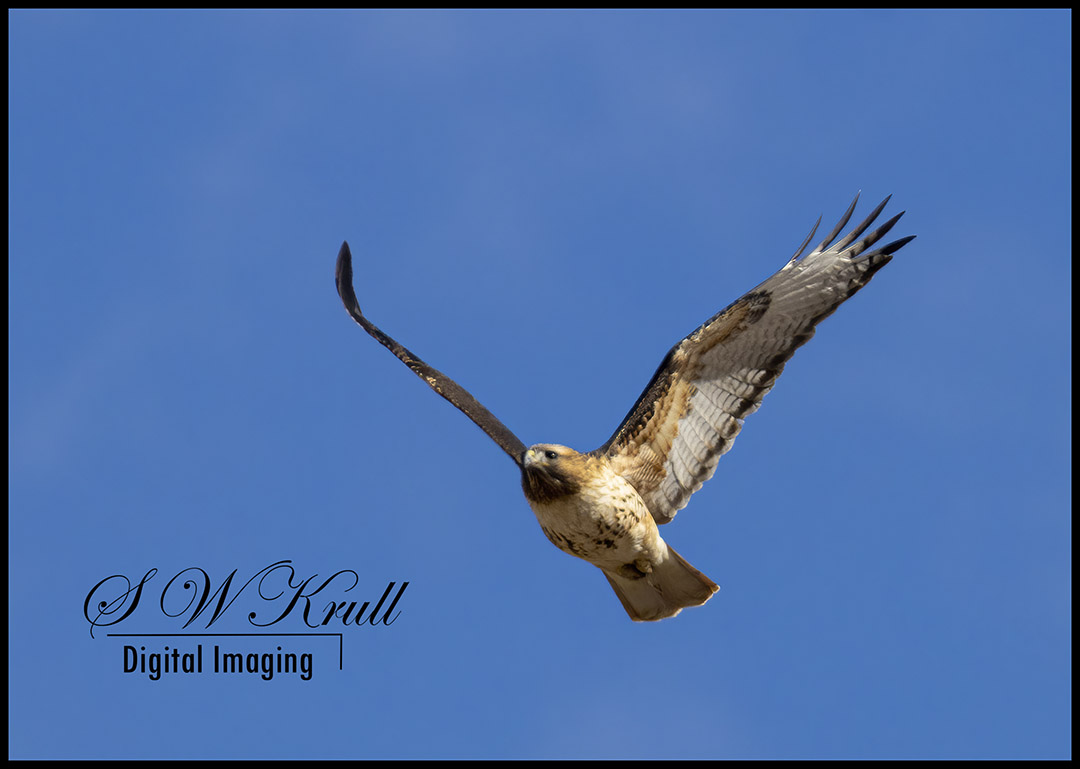

This is a moment three decades in the making… I finally have a logo! I’ve made feeble attempts in the past at creating one, using all sorts of amateurish method including transparent gifs, Photoshop actions, clip art and other silly things. For some reason this week I decided enough is enough and sat down to learn how to do a logo using brush presets. It turns out it was actually quite simple and I don’t really know why I hadn’t done it years ago. Anyway, here it is!!!! My new logo:

To do this you basically create your art on a file with a transparent background and then use “edit > define preset” to create your custom brush. Then to use it at any time you just select the brush tool and click your custom brush, then with one click you “stamp” your logo onto the file. If you use a new layer to stamp your logo you can use “free transform” to scale it and apply any other layer effects you may want to use.
I probably won’t be making it this big all the time, but for this article I wanted to show it off 🙂
As always, the best of these images and hundreds more are available for purchase on my website as wall art on glossy metal or acrylic sheets, stretched canvas and traditional matting and framing. Tons of cool household and gift items are also available with any image you like including coffee mugs, t-shirts, blankets and pillows, battery chargers, phone cases, stationary and much much more! Just click on any image you like and all the choices, sizes and prices will appear! For my viewers interested in images for commercial use, please visit my image licensing portal!
Discover more from Colorado Photographer / Author | Steven W. Krull
Subscribe to get the latest posts sent to your email.

Nice logo
LikeLiked by 2 people
Thank you!!!
LikeLiked by 1 person